Tutorial: Live Camera Stream from Raspberry Pi to an MQTT Dashboard
February 22, 2026
The ability to add live visual feedback to an IoT dashboard opens up a world of possibilities. Whether you are monitoring a 3D printer, building a smart home automation system, tracking warehouse activity, or managing remote industrial equipment, visual data dramatically increases situational awareness. For a comprehensive look at what makes a great dashboard, see our Ultimate Guide to MQTT Dashboards.
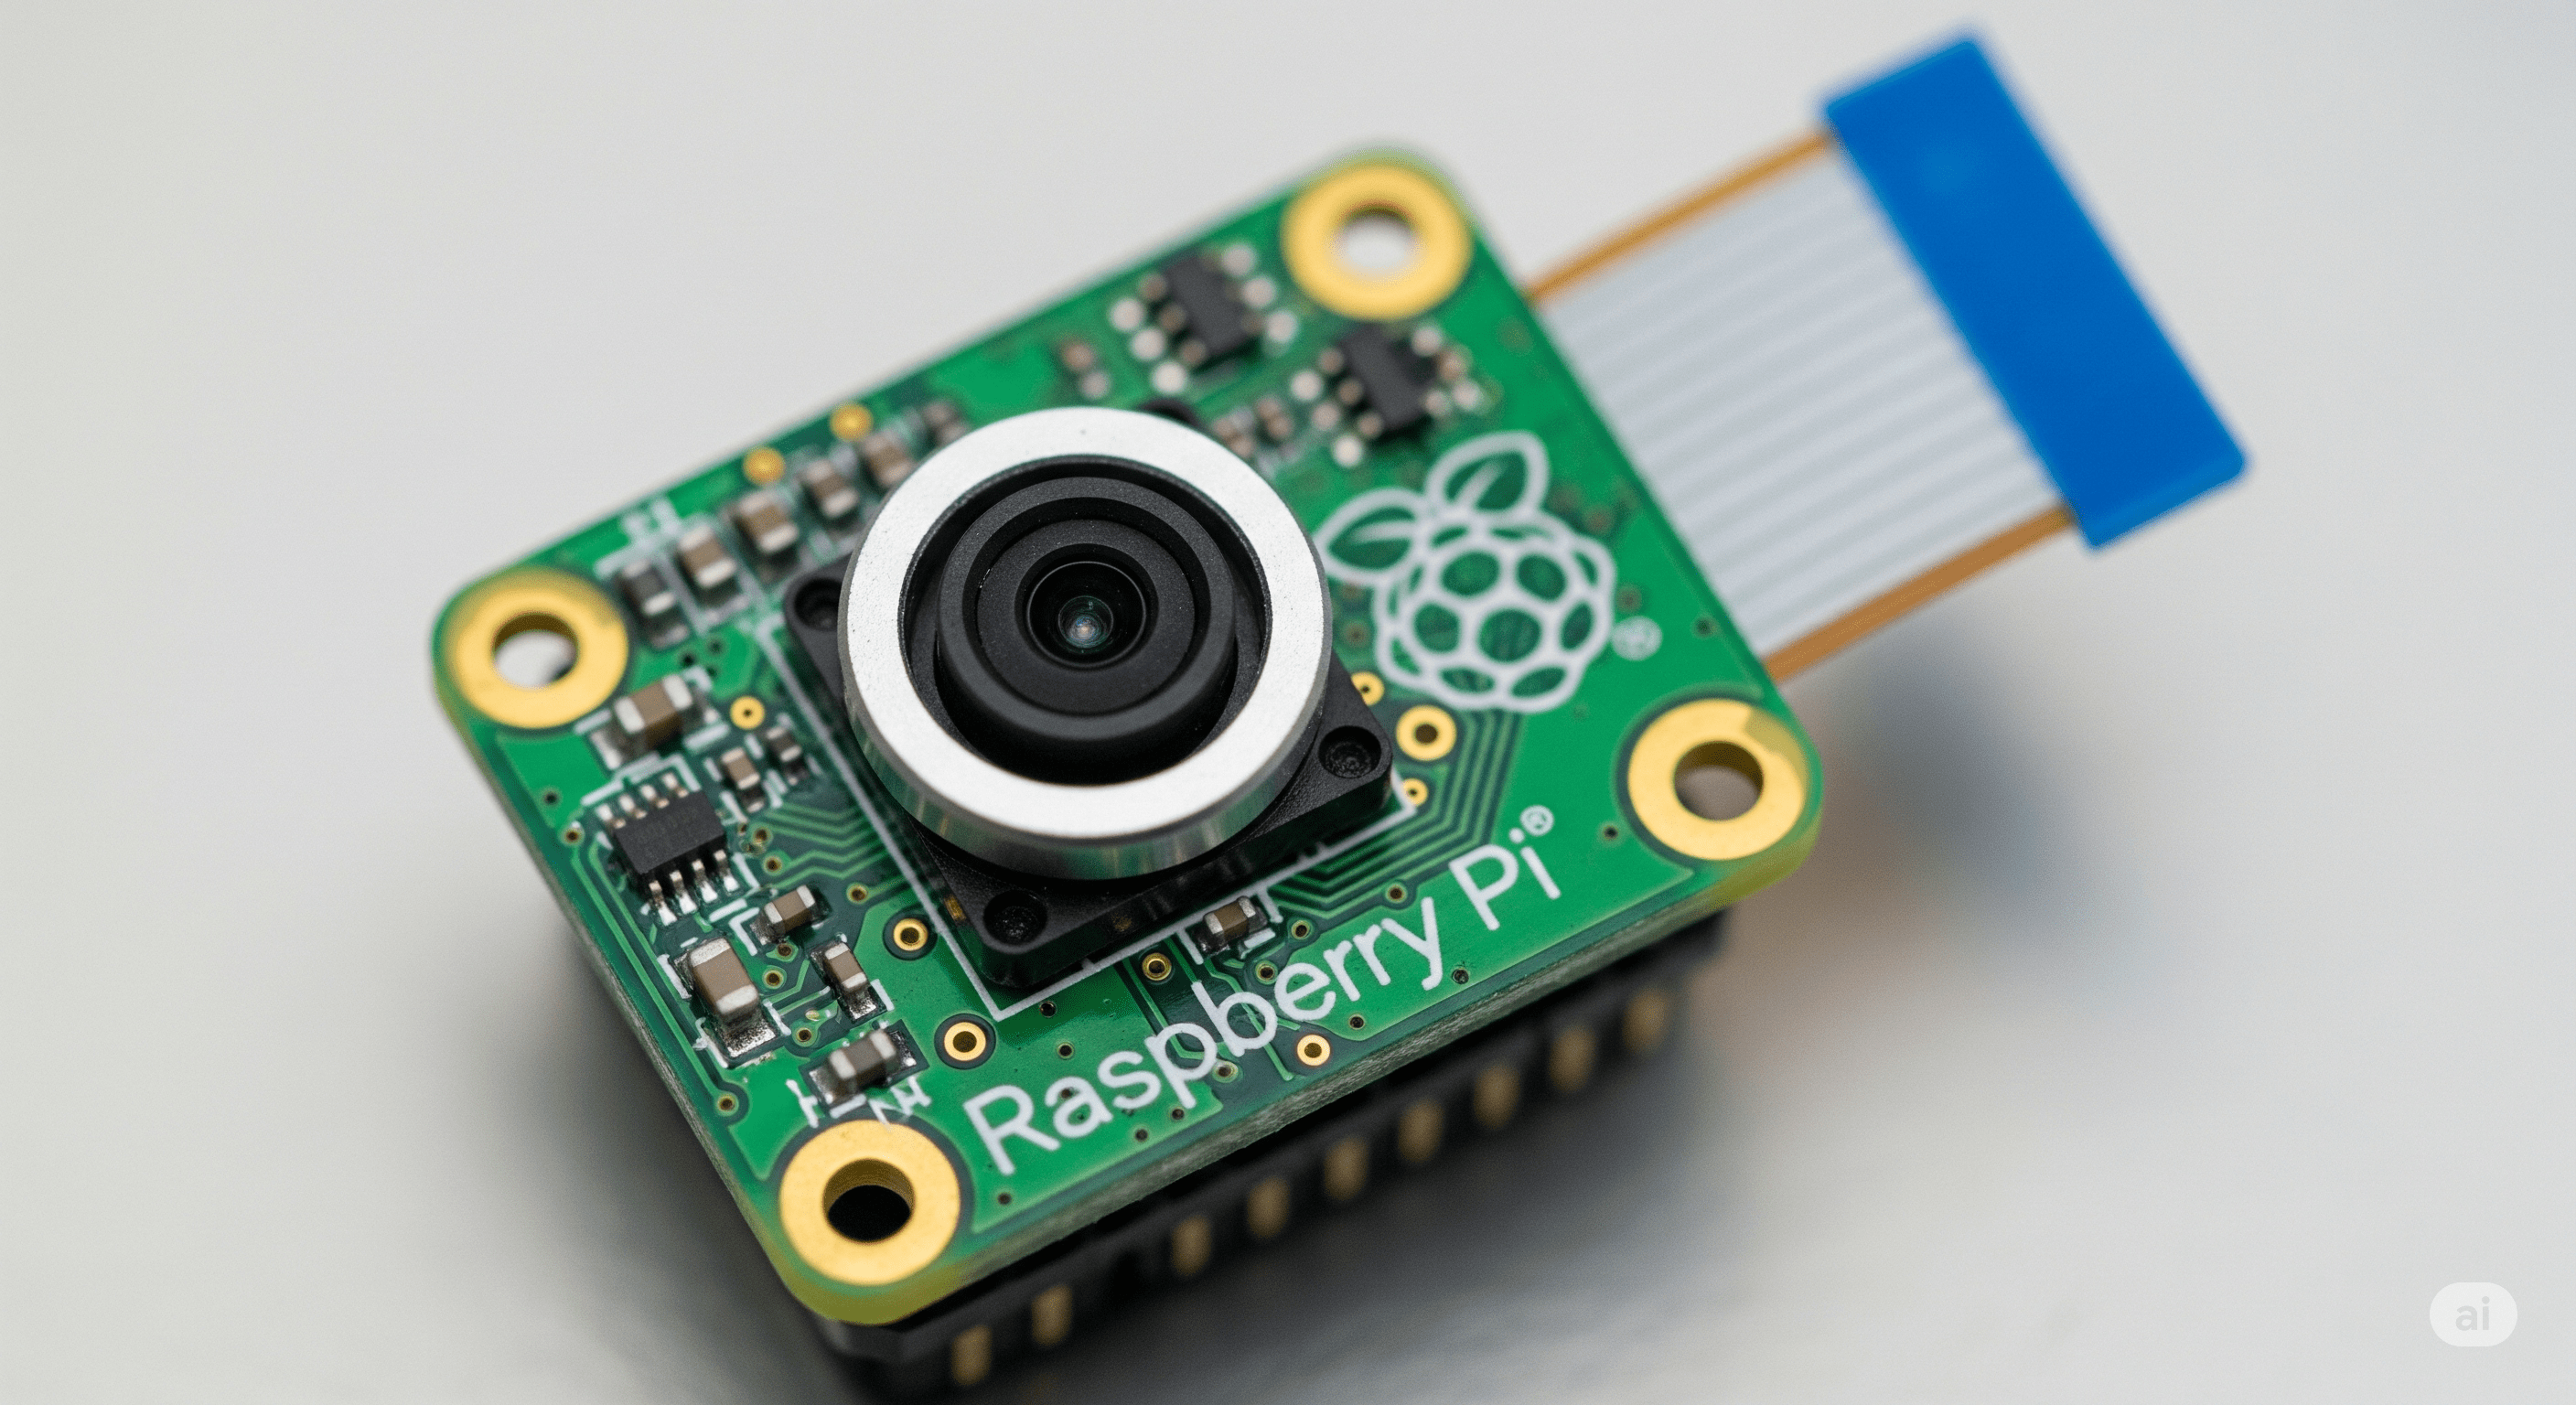
The Raspberry Pi, paired with its affordable camera module, is one of the most powerful tools for building a cost-effective IoT camera monitoring system. Instead of deploying complex video streaming servers, a lightweight and scalable method is to transmit still images over MQTT at regular intervals.
This approach is ideal for IoT applications because it is:
- Lightweight
- Firewall-friendly
- Easy to scale
- Reliable over unstable networks
- Easy to integrate into an MQTTfy Dashboard
In this expanded tutorial, you will learn:
- Hardware setup and camera configuration
- Python scripting for MQTT image transmission
- Base64 encoding and payload optimization
- MQTT topic structure best practices
- Configuring the MQTTfy Camera Widget
- Performance tuning and frame rate optimization
- Security hardening for production use
- Edge AI integration ideas
- Deploying as a scalable IoT visual monitoring system
Why Use MQTT for Camera Streaming?
Traditional video streaming methods like RTSP, HLS, or WebRTC are powerful but require:
- Dedicated streaming servers
- Port forwarding
- Continuous high bandwidth
- Complex firewall configurations
- Media transcoding infrastructure
For most IoT monitoring use cases, full-motion video is unnecessary. Instead, publishing JPEG snapshots every 1–5 seconds provides near real-time visibility with significantly lower resource consumption.
Benefits of MQTT Image Streaming
- Lightweight Network Usage: Images are transmitted in bursts rather than continuous streams.
- Reliable Delivery: MQTT QoS levels allow guaranteed delivery when required.
- Easy Scaling: Thousands of devices can publish to the same MQTT broker.
- Cloud Ready: Perfect for IoT cloud dashboards like MQTTfy.
- Edge-Friendly: Works well even on low-power Raspberry Pi models.
Understanding the Architecture
The entire IoT camera dashboard workflow is simple yet powerful.
This architecture eliminates peer-to-peer complexity and centralizes communication via an MQTT broker, a core principle of building an effective IoT dashboard.
Deep Dive: Hardware Selection
Recommended Raspberry Pi Models
- Raspberry Pi 4 (best performance)
- Raspberry Pi 3B+
- Raspberry Pi Zero 2 W (low power deployments)
If you plan high frame rates, Raspberry Pi 4 is recommended.
Recommended Camera Modules
- Raspberry Pi Camera Module v2
- Raspberry Pi Camera Module v3 (better autofocus and HDR)
- HQ Camera Module (for industrial quality)

Optimizing Camera Configuration for IoT
The script configures resolution to 640x480 intentionally.
Why?
- Smaller file size
- Faster transmission
- Lower CPU load
- Reduced MQTT payload size
For production IoT dashboards:
| Use Case | Recommended Resolution |
|---|---|
| Smart home | 640x480 |
| Industrial inspection | 1280x720 |
| Security snapshots | 800x600 |
Higher resolution increases payload size exponentially.
Improving the Python Script for Production
Let’s enhance reliability and scalability.
Add Automatic Reconnect Logic
MQTT networks can disconnect. Add:
client.reconnect_delay_set(min_delay=1, max_delay=120)
Use QoS Strategically
- QoS 0 → Fastest
- QoS 1 → Guaranteed at least once
- QoS 2 → Guaranteed exactly once (heavier)
For camera snapshots, QoS 0 or 1 is usually sufficient.
Reducing Image Payload Size
Base64 increases size by ~33%.
Ways to reduce size:
- Lower JPEG Quality
picam2.capture_file(stream, format='jpeg', quality=70) - Resize Image: Lower resolution before encoding.
- Send Only When Motion Detected: Integrate motion detection to reduce unnecessary publishing.
Advanced Topic Structure for Multi-Camera Systems
If deploying multiple cameras for industrial monitoring:
factory/zone1/camera1/image
factory/zone1/camera2/image
factory/zone2/camera1/image
Benefits:
- Clean separation
- Easy dashboard filtering
- Scalable IoT architecture
- Multi-tenant deployment ready
Securing Your MQTT Camera Stream
Security is critical for smart surveillance IoT systems.
- Enable TLS Encryption: Use port 8883 and certificates.
client.tls_set(ca_certs="ca.crt") - Add Authentication:
client.username_pw_set("username", "password") - Restrict Topic Permissions: Use broker ACL rules.
- Rotate Credentials Periodically: Never use default public brokers in production.
Configuring the MQTTfy Camera Widget (Extended Guide)
After adding the Camera Widget in your MQTTfy Dashboard:
| Data Purpose | Best Widget Choice(s) | Why? |
|---|---|---|
| Current state vs. a range | Gauge, Temperature Bar | Instantly shows where a single value lies within an expected range. |
| Binary status | LED Indicator, Text Status | The clearest way to show on/off, good/fault, online/offline. |
| Trend over time | Line Chart | The human eye is excellent at detecting patterns and anomalies in a line. |
| Comparison of categories | Bar Chart | Best for comparing discrete values, like the output of multiple machines. |
| Geographical location | Map | The only choice for visualizing data that has a physical location. |
| Precise, detailed logs | Table | For when exact values and timestamps matter more than at-a-glance trends. |
Advanced Settings to Consider
- Auto-refresh rate
- Aspect ratio lock
- Error placeholder image
- Timestamp overlay
- Custom CSS Styling
For professional dashboards:
- Add borders
- Rounded corners
- Dark mode compatibility
- Status indicator badge
Creating a Smart Surveillance IoT Dashboard
Combine the Camera Widget with:
- Temperature widgets
- Motion sensor indicators
- Alert logs
- Device status lights
This creates a complete IoT visual monitoring system, a key component in data visualization for IoT.
Storing Historical Images
If required:
- Store Base64 in cloud storage
- Convert back to JPEG server-side
- Save with timestamp
This enables:
- Incident review
- Historical playback
- AI training dataset creation
Edge AI Integration (Advanced Use Case)
You can integrate lightweight AI using:
- OpenCV
- TensorFlow Lite
- YOLO models
Example:
- Capture image
- Run object detection
- Publish detection result
- Send image only if anomaly found
Payload example:
{
  "timestamp": 1700000000,
  "image": "...",
  "objects": ["person", "dog"]
}
Now your MQTTfy Dashboard becomes intelligent.
Bandwidth Optimization Strategy
If you want near real-time performance for fleet management:
- Send image every 1 second (fast networks)
- Send image every 5 seconds (mobile networks)
- Send only on motion (most efficient)
Running as a Background Service (Production Deployment)
Create systemd service:
sudo nano /etc/systemd/system/camera.service
Add:
[Unit]
Description=MQTT Camera Publisher
After=network.target

[Service]
ExecStart=/usr/bin/python3 /home/pi/camera_publisher.py
Restart=always
User=pi

[Install]
WantedBy=multi-user.target
Enable:
sudo systemctl enable camera.service
Now your Raspberry Pi camera stream auto-starts on boot.
Performance Benchmarks
Typical metrics on Raspberry Pi 4:
| Resolution | Interval | CPU Usage | Network Usage |
|---|---|---|---|
| 640x480 | 2 sec | 15–20% | Low |
| 1280x720 | 2 sec | 30–40% | Medium |
| 1920x1080 | 2 sec | 60%+ | High |
Always test before deployment.
Real-World IoT Camera Use Cases
- 3D Printer Monitoring: Prevent print failures.
- Warehouse Monitoring: Track package movement in retail analytics.
- Remote Solar Farms: Visual inspection of panels, contributing to energy management.
- Smart Agriculture: Crop health snapshot system for smart farming.
- Remote Construction Sites: Progress monitoring dashboard for a smart city project.
Troubleshooting Guide
Image Not Displaying?
- Verify topic matches exactly
- Check JSON Data Path
- Confirm Base64 selected
- Ensure no payload truncation
MQTT Disconnects?
- Add reconnect logic
- Use stable broker
- Check WiFi signal
High CPU Usage?
- Lower resolution
- Increase interval
- Use hardware acceleration
Scaling to Enterprise IoT Deployments
To scale this Raspberry Pi MQTT project:
- Use clustered MQTT broker
- Implement load balancing
- Use CDN for image storage
- Separate ingestion and analytics layers
MQTT is extremely scalable when architected correctly, making it perfect for your MQTTfy Dashboard.
Final Thoughts
Building a live Raspberry Pi camera stream to an MQTT dashboard is one of the most practical IoT projects you can deploy today. It demonstrates:
- Real-time image streaming over MQTT
- Edge device image publishing
- MQTT camera widget integration
- Secure IoT communication
- Cloud-connected smart surveillance
By combining Raspberry Pi, MQTT, and an MQTTfy Dashboard, you create a flexible, scalable, and production-ready IoT visual monitoring system.
This architecture is:
- Developer-friendly
- Resource-efficient
- Highly scalable
- Secure
- Industry adaptable
Whether you're building a smart home camera dashboard, industrial inspection system, remote monitoring platform, or edge AI prototype — this MQTT camera integration method provides the perfect foundation.
Frequently Asked Questions
Why publish images over MQTT instead of streaming video directly?
Publishing still images over MQTT is often simpler, more lightweight, and more reliable for IoT use cases, especially over constrained networks. It avoids the complexities of setting up a video streaming server (like HLS or WebRTC) and managing persistent connections. For many monitoring applications, a new image every few seconds is just as effective as a full-motion video stream, but with much lower bandwidth and power consumption.
What is Base64 encoding and why is it used?
Base64 is a method for encoding binary data (like an image file) into a text-only format. MQTT payloads are designed to be lightweight and are often handled as simple strings. By encoding the JPEG image into Base64, we ensure it can be safely transmitted as a string within a JSON payload without being corrupted. The dashboard widget then decodes the Base64 string back into an image to display it.
Can I improve the frame rate of the camera?
Yes. In the provided Python script, you can decrease the 'time.sleep(2)' value to a smaller number to capture and send images more frequently. However, be aware that this will increase CPU usage on your Raspberry Pi and consume more network bandwidth and MQTT broker resources. A balance must be struck between frame rate and system performance.
Does the Raspberry Pi need to be on the same network as my computer?
No, and that is the power of MQTT. The Raspberry Pi and your dashboard (running in a browser) do not connect to each other directly. They both connect to the same central MQTT broker on the internet. As long as both have an internet connection, the Pi can be anywhere in the world and your dashboard will still receive the images.
How do I autostart the Python script when the Raspberry Pi boots up?
A reliable way to autostart the script is by creating a systemd service. You would create a service file in '/etc/systemd/system/', define the user and command to run your Python script, and then enable it with 'sudo systemctl enable my-camera-stream.service'. This ensures the script starts automatically on boot and can even be configured to restart if it crashes.