Connecting PLC Modbus Data to Your MQTTfy Dashboard
March 15, 2026
Bridging the Gap: From the Factory Floor to Your Dashboard
Industrial environments are filled with robust and reliable equipment like Programmable Logic Controllers (PLCs). These devices are the workhorses of automation, controlling everything from simple motors to complex manufacturing lines. Many of these PLCs communicate using the Modbus protocol—a simple, effective, and widely adopted standard.
However, Modbus was designed for local, serial networks. To bring this valuable data into a modern, cloud-based platform like MQTTfy for real-time visualization and analysis, we need a bridge. This is where a Modbus to MQTT gateway comes in.
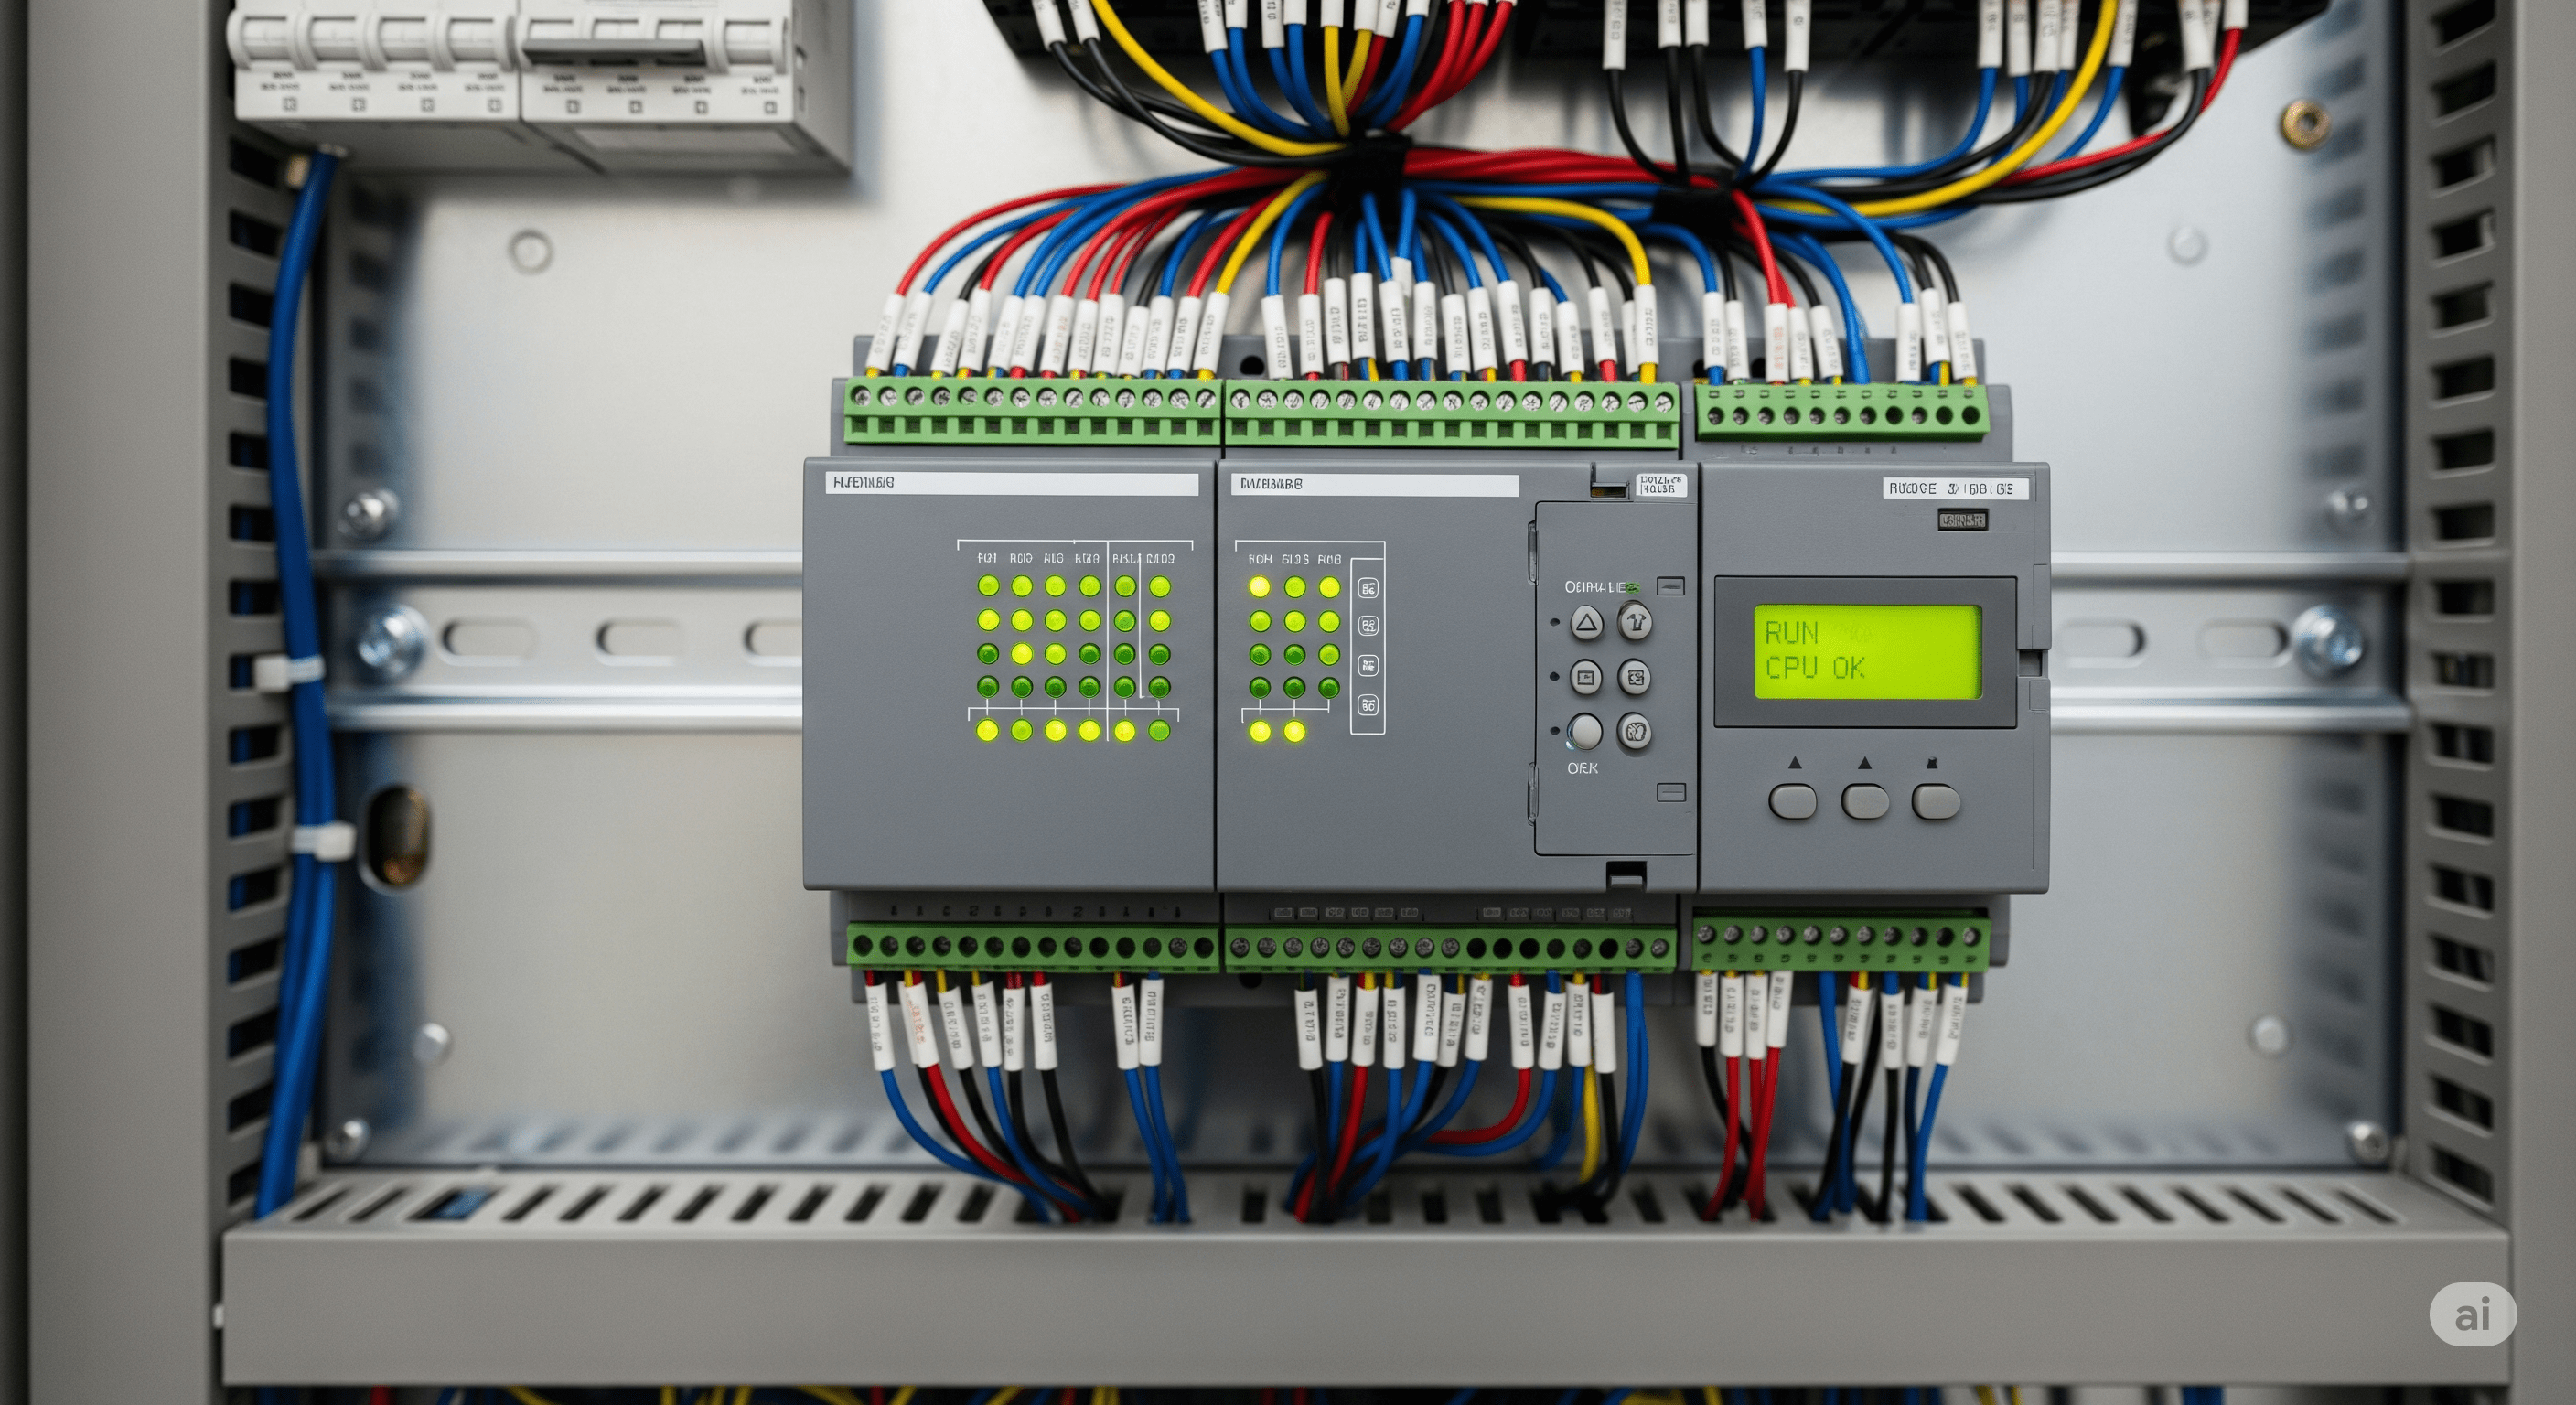
What is a Modbus to MQTT Gateway?
A gateway is a device or software application that acts as a translator between two different protocols. A PLC Modbus MQTT gateway polls Modbus-enabled devices on a local network, reads the register data, and then publishes that data as MQTT messages to a specified broker. This allows you to seamlessly integrate legacy industrial hardware with modern IoT platforms.
Step-by-Step Guide to Connecting Your PLC
Here’s a conceptual guide to getting your PLC data onto your MQTTfy dashboard. The exact hardware and software will vary, but the principles remain the same.
1. Choose Your Gateway
You have several options for a gateway:
- Hardware Gateway: Devices from manufacturers like Advantech, Moxa, or USR-IOT are purpose-built for this task. They offer a rugged solution with a simple web-based configuration interface.
- Software Gateway: You can run gateway software on a local computer or an embedded device like a Raspberry Pi. Popular options include Node-RED (with Modbus and MQTT nodes), or custom Python scripts using libraries like
pymodbusandpaho-mqtt.
2. Configure the Gateway to Read Modbus Data
In your gateway's configuration, you'll need to specify:
- PLC IP Address & Port: The local IP address of your PLC and the Modbus TCP port (usually 502).
- Polling Interval: How often the gateway should request data (e.g., every 5 seconds).
- Modbus Registers: The specific addresses of the registers you want to read (e.g., holding registers starting at address 40001). You'll also specify the data type (e.g., integer, float).
3. Configure the MQTT Connection
Next, configure the gateway to publish the data to your MQTT broker:
- Broker URL & Port: The address of your MQTT broker (e.g.,
test.mosquitto.org). - Topic Structure: Define a clear topic structure. A good practice is
plc/[machine_id]/[parameter], for example,plc/press-01/pressure. - Credentials: Enter any required username, password, or certificates for your broker.
4. Configure Your MQTTfy Widget
Now, on your MQTTfy dashboard:
- Add a new widget, such as a Gauge or a Line Chart.
- In the widget's configuration sheet, enter the MQTT broker details you used in the gateway.
- Set the Topic to match the one you defined in the gateway (e.g.,
plc/press-01/pressure). - If the data from the PLC is in a raw format, you can use the Data Transformation function to scale it or convert it. For example, if your PLC sends an integer
425that represents42.5PSI, your transformation function would be(payload) => payload / 10.
5. Visualize and Control
Once configured, your widget will subscribe to the topic and start displaying the PLC data in real-time. You can now monitor your industrial processes from anywhere. For control, you can configure a Button or Numeric Input widget in MQTTfy to publish a message back to a different topic, which the gateway can then translate into a Modbus write command to the PLC.
By bridging Modbus and MQTT, you unlock the full potential of your industrial data, enabling smarter, more efficient, and more connected operations.
The IIoT Architect's Handbook: A Masterclass on Modbus to MQTT Integration
The conceptual guide above provides the foundational workflow for creating a PLC Modbus MQTT gateway. Now, we will expand this into a definitive, expert-level masterclass for engineers, architects, and developers tasked with building robust Industrial IoT solutions. This multi-thousand-word deep dive will cover advanced architectural patterns, practical implementation details, data modeling strategies like MQTT Sparkplug B, comprehensive troubleshooting, and the critical security considerations necessary for bridging the worlds of Operational Technology (OT) and Information Technology (IT). This is the architect's handbook for transforming legacy industrial data into actionable intelligence on your MQTTfy dashboard.
Part 1: Advanced Architecture - The Role of the Edge in Modbus Integration
The most critical decision in any Modbus to MQTT project is the architecture of the gateway itself. As outlined briefly before, placing the gateway at the "edge" of the network is the industry-standard best practice. Let's dissect why this edge computing pattern is so crucial for building a secure and scalable IIoT architecture.
The diagram above illustrates the ideal architecture. The Industrial IoT gateway resides within the OT network, the secure zone where the PLCs and other industrial assets operate. This gateway is the only device that is permitted by the firewall to initiate an outbound connection to the IT network (specifically, to the central MQTT broker). This creates a secure, one-way bridge for data.
The Security Advantages of the Edge Gateway Model
This model is inherently secure for several reasons:
- No Inbound Connections: The single most important security principle in OT/IT convergence is to never allow unsolicited inbound connections from the IT network into the OT network. The edge gateway model enforces this by design. The gateway initiates the connection to the cloud, meaning no open ports are exposed on the factory's firewall, dramatically reducing the attack surface.
- Protocol Break: The gateway acts as a "protocol break." The Modbus protocol, which has no inherent security, is confined to the trusted local OT network. The data is then translated and wrapped in the modern, secure MQTT protocol over TLS (MQTTS) for transit across the untrusted IT network.
- Asset Isolation: The PLCs themselves are never directly connected to the internet. They only need to communicate with the local gateway, isolating them from potential threats. An attacker who compromises the cloud broker cannot directly access the PLCs.
The Operational Advantages of Edge Computing
Beyond security, the edge gateway provides significant operational benefits:
- Data Buffering and Resilience: What happens if the factory's internet connection goes down? An intelligent edge gateway can store the data locally (store-and-forward). When the connection to the MQTT broker is re-established, the gateway can upload all the buffered data in chronological order, ensuring there are no gaps in your historical data record. This is impossible if the PLC is trying to connect directly to the cloud.
- Edge Analytics and Data Reduction: A PLC can generate a massive amount of data. Sending all of this raw data to the cloud is expensive and inefficient. An Industrial IoT gateway can perform processing at the edge. For example, it can be programmed to only publish a pressure reading if it has changed by more than a certain deadband (e.g., 0.5 PSI). This "report by exception" model can reduce data transmission by over 90% while still capturing all significant events. This makes your entire IoT data visualization system more efficient and responsive.
- Local Control Loops: For applications requiring very low latency, a control loop can be executed directly on the edge gateway. For example, the gateway could monitor the temperature from one PLC and directly send a command to adjust a fan controlled by another PLC, without ever needing to send the data to the cloud and back. This ensures sub-second response times that are independent of internet connectivity.
Part 2: Selecting Your Industrial IoT Gateway Hardware
The term "gateway" can refer to both hardware and software, but the physical device running the gateway software is a critical component of your IIoT architecture. The choice of hardware depends on budget, environment, scalability, and the required I/O.
-
Embedded Systems (e.g., Raspberry Pi, BeagleBone Black):
- Pros: Extremely low cost, highly versatile, large community support, and excellent for learning and prototyping. A Raspberry Pi running Python or Node-RED is a powerful and common way to build a PLC Modbus MQTT gateway for smaller applications.
- Cons: Not industrially hardened. They lack the rugged enclosures, wide operating temperature ranges, and electrical protections (e.g., against power surges) needed for a factory floor. SD cards, typically used as the primary storage, are prone to failure over time in high-read/write applications.
- Best For: Proof-of-concepts, non-critical monitoring, and budget-constrained projects in clean environments.
-
Purpose-Built Industrial Gateways (e.g., Advantech, Moxa, Siemens):
- Pros: Designed specifically for the industrial environment. They feature rugged, fanless enclosures, DIN rail mounting, wide temperature ranges (-40°C to 75°C), and certified compliance with industrial standards. They often come with pre-installed gateway software with a simple web-based configuration, reducing development time. Many include built-in serial ports (RS-485) for Modbus RTU and multiple Ethernet ports for network segmentation.
- Cons: Significantly higher cost than embedded systems. The pre-installed software might be less flexible than a custom script.
- Best For: Production deployments in harsh environments, critical applications requiring high reliability, and projects where time-to-market is a key concern.
-
Industrial PCs (IPCs):
- Pros: Offer the best of both worlds. They are industrially hardened like purpose-built gateways but provide the full power and flexibility of a standard PC, allowing you to run any custom software (Python, Node-RED, etc.) on a reliable platform. They often have more processing power and storage, enabling more complex edge analytics.
- Cons: The most expensive option. They can be overkill for a simple Modbus to MQTT translation task.
- Best For: Complex edge applications that require significant local data processing, machine learning at the edge, or hosting other applications alongside the gateway logic.
Part 3: Practical Implementation - A Tale of Two Gateways
To provide maximum practical value, we will walk through building a gateway using two different, popular methods: a custom Python script for maximum flexibility, and a low-code Node-RED flow for rapid development.
Method A: The Python Gateway ( Revisited for Production)
Our previous Python example was a proof-of-concept. A production gateway needs to be more robust. Key improvements would include:
- Configuration from a File: All settings (PLC IPs, Modbus registers, MQTT topics) should be loaded from a configuration file (e.g.,
config.yaml), not hardcoded in the script. This allows you to change the configuration without modifying the code. - Robust Error Handling & Reconnection: Both the Modbus and MQTT clients need automatic reconnection logic with exponential backoff in case a PLC or the broker becomes unavailable.
- Structured Logging: Use a proper logging library (like Python's built-in
logging) to write timestamped logs to a file, which is essential for debugging issues in a long-running service. - Running as a Service: The Python script should be set up to run as a system service (e.g., using
systemdon Linux) so that it automatically starts on boot and restarts if it crashes.
Method B: The Node-RED Low-Code Gateway
Node-RED is an incredibly popular open-source visual programming tool that is perfect for wiring together hardware devices and APIs. It is an excellent choice for creating a Modbus to MQTT gateway with minimal coding.
Step 1: Install Required Nodes
From the Node-RED palette manager, install node-red-contrib-modbus and ensure the standard MQTT nodes are present.
Step 2: Build the Flow
-
Inject Node: Drag an
Injectnode onto the canvas. Configure it to fire at a set interval (e.g., every 5 seconds). This will trigger your Modbus poll. -
Modbus-Flex-Getter Node: Drag a
Modbus-Flex-Getternode. Double-click to configure it:- Server: Add a new Modbus TCP server, specifying your PLC's IP address and Port 502.
- FC: Select
FC 3: Read Holding Registers. - Address: Enter the starting register address (e.g., 100).
- Quantity: Enter the number of registers to read (e.g., 2 for a 32-bit float).
-
Function Node: Wire the output of the Modbus node to a
Functionnode. This is where you will decode the payload. The Modbus node returns an array of raw values. You need a small snippet of JavaScript to convert this to the correct data type.// The raw data is in msg.payload.data // Create a buffer and read a 32-bit float from it const buf = Buffer.from(msg.payload.buffer); const motorSpeed = buf.readFloatBE(0); // Big-Endian float // Create a new payload for MQTT msg.payload = { "value": parseFloat(motorSpeed.toFixed(2)), "units": "RPM" }; // Set the topic for this specific metric msg.topic = "factory1/press-01/motor/speed"; return msg; -
MQTT Out Node: Wire the output of the
Functionnode to anMQTT Outnode. Configure it with your MQTT broker's address, port, and security credentials.
This simple, visual flow performs the exact same function as the Python script. Node-RED makes it incredibly easy to create and manage complex polling schedules and data mappings, making it a fantastic tool for Industrial IoT gateway development.
Part 4: Data Contextualization and Enterprise Integration
Getting data from a Modbus register to an MQTT topic is only half the battle. Raw data like 42.5 is meaningless without context. What is it? The pressure of which pump? In which factory? This process of adding metadata is called data contextualization, and it is what transforms raw data into valuable information.
MQTT Sparkplug B is a foundational part of this, as it provides a standardized payload structure for core metadata. But a complete solution often requires integration with other enterprise systems:
- MES (Manufacturing Execution System): An MES manages the real-time execution of work orders on the factory floor. By feeding contextualized IIoT data into the MES, you can automatically track production counts, monitor cycle times, and measure OEE (Overall Equipment Effectiveness) without any manual data entry.
- ERP (Enterprise Resource Planning): An ERP system manages core business processes. When your Industrial IoT gateway reports a critical machine fault via MQTT, this event can trigger a workflow in the ERP to automatically generate a maintenance work order and even order the required spare parts.
- Data Historians & Data Lakes: While your MQTTfy dashboard is perfect for real-time IoT data visualization, a data historian or cloud data lake is used for long-term storage and deep analytics. The contextualized MQTT data, rich with metadata from Sparkplug B and other systems, provides the perfect fuel for data scientists to build advanced machine learning models for predictive maintenance or process optimization.
A mature IIoT architecture doesn't just send data to a dashboard; it creates a unified data pipeline where real-time information from the factory floor seamlessly flows into the broader enterprise IT landscape, driving smarter business decisions at every level.